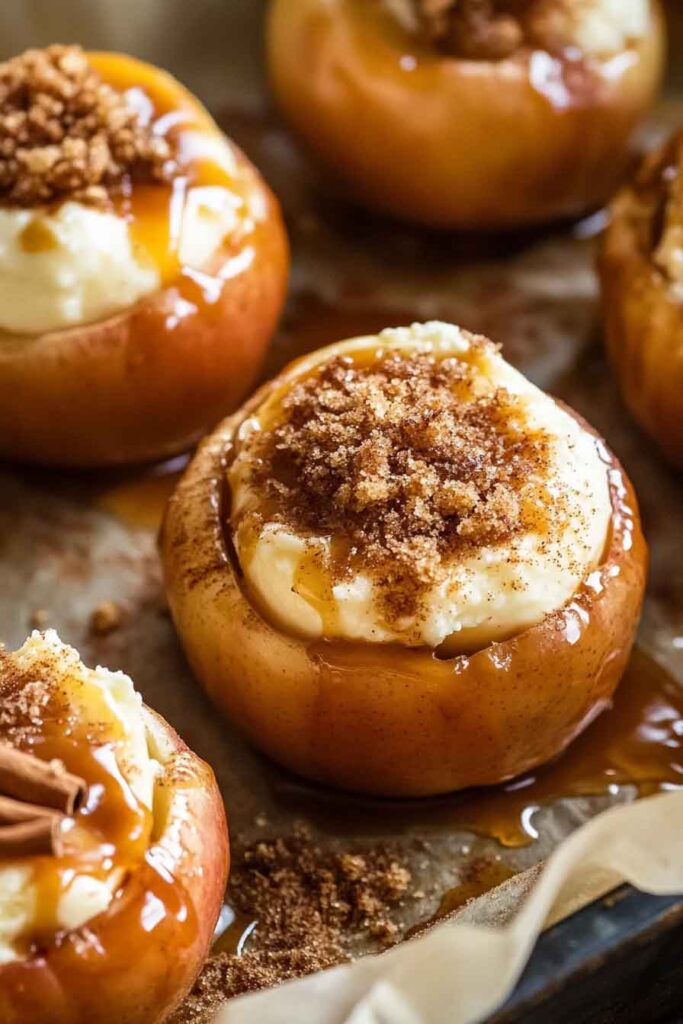
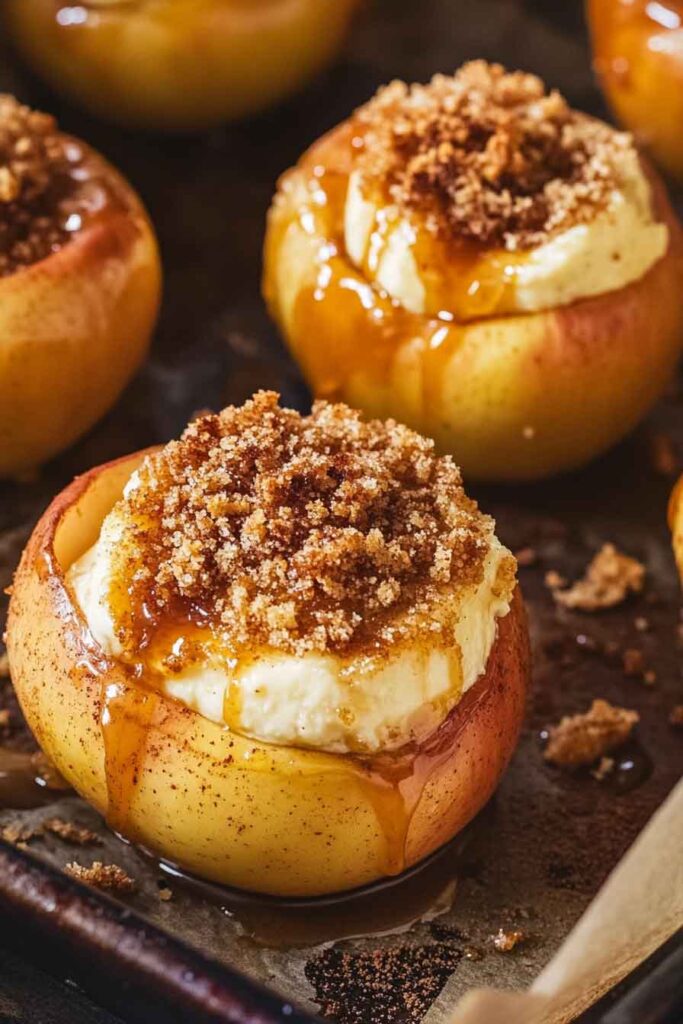
Love cheesecake? Love baked apples? Now you can have both with these cheesecake-stuffed baked apples!
You get warm, tender apples filled with creamy, sweet cheesecake. Every bite is cozy, rich, and full of fall flavor. It’s like two desserts in one.
Perfect for holidays, special nights, or anytime you want a cozy treat. Easy to make. So fun to eat.
Let’s grab some apples and get stuffing! Sweet, cozy magic is just a few steps away.
Why You’ll Love This Recipe
- Perfect Fall Dessert: The warm spices and tender apples make it a cozy choice for chilly days.
- Easy Yet Impressive: Looks beautiful on the plate but is surprisingly simple to make.
- Family Favorite: Great for gatherings or an after-dinner treat that both kids and adults will love.
- Make-Ahead Friendly: You can prep the apples and filling ahead to bake fresh when you need them.
- Simple Ingredients: All pantry staples, with no fancy tools required.
What You Need to Know Before You Start
Prep Time & Cook Time:
Prep Time: 20 minutes
Bake Time: 40-45 minutes
Total Time: About 1 hour
Servings:
This recipe makes 8 stuffed apples — perfect for 8 small servings or 4 generous portions if you want to share half an apple per plate.
Difficulty:
Easy enough for beginners but satisfying even for experienced bakers who love a simple, rustic dessert.
Required Kitchen Tools
- Sharp paring knife or apple corer
- Melon baller or spoon (to scoop the apple centers)
- Electric hand mixer or stand mixer
- Baking dish (9×13-inch works well)
- Small mixing bowls
- Measuring cups and spoons
Ingredients for Cheesecake-Stuffed Baked Apples
Here’s what you’ll need to bring this cozy dessert together (full measurements are in the Recipe Card below):
- Full-Fat Cream Cheese: Makes the filling rich, creamy, and indulgent.
- Eggs: Help the cheesecake filling set properly while baking.
- Apples: Choose firm varieties like Honeycrisp, Granny Smith, or Fuji to hold their shape.
- Unsalted Butter: Adds richness and helps with the graham cracker topping.
- Ground Cinnamon: Classic warm spice for both apples and topping.
- Ground Nutmeg: A hint of nutmeg deepens the cozy flavor.
- Graham Cracker Crumbs: Creates a slightly crunchy topping.
- Granulated Sugar: Sweetens both the filling and topping.
- Vanilla Extract: Rounds out the flavors of the cheesecake filling.
- Caramel Sauce: Optional for drizzling over the finished apples for extra decadence.
Variations for Cheesecake-Stuffed Baked Apples
- Add Nuts: Sprinkle chopped pecans or walnuts into the graham cracker topping for a crunchy twist.
- Swap Spices: Use apple pie spice instead of cinnamon and nutmeg for a fuller-spiced flavor.
- Chocolate Drizzle: Instead of caramel, drizzle with melted chocolate after baking.
- Berry Boost: Stir a few fresh raspberries or blueberries into the cheesecake filling for a fruity touch.
- Pumpkin Spice Version: Add a tablespoon of pumpkin puree and a pinch of pumpkin pie spice to the cheesecake filling for a fall-themed variation.
How to Make Cheesecake-Stuffed Baked Apples: Step-by-Step Instructions
1. Prepare the Apples
- Preheat your oven to 350°F (177°C).
- Slice the tops off the apples and use a spoon or melon baller to scoop out the core and some of the flesh, leaving about ½-inch thick walls.
- Set the hollowed apples into a greased 9×13-inch baking dish.
2. Make the Cheesecake Filling
- In a medium bowl, beat the softened cream cheese with a hand mixer until smooth.
- Add the granulated sugar, egg, and vanilla extract. Beat again until the mixture is creamy and well-blended.
3. Fill the Apples
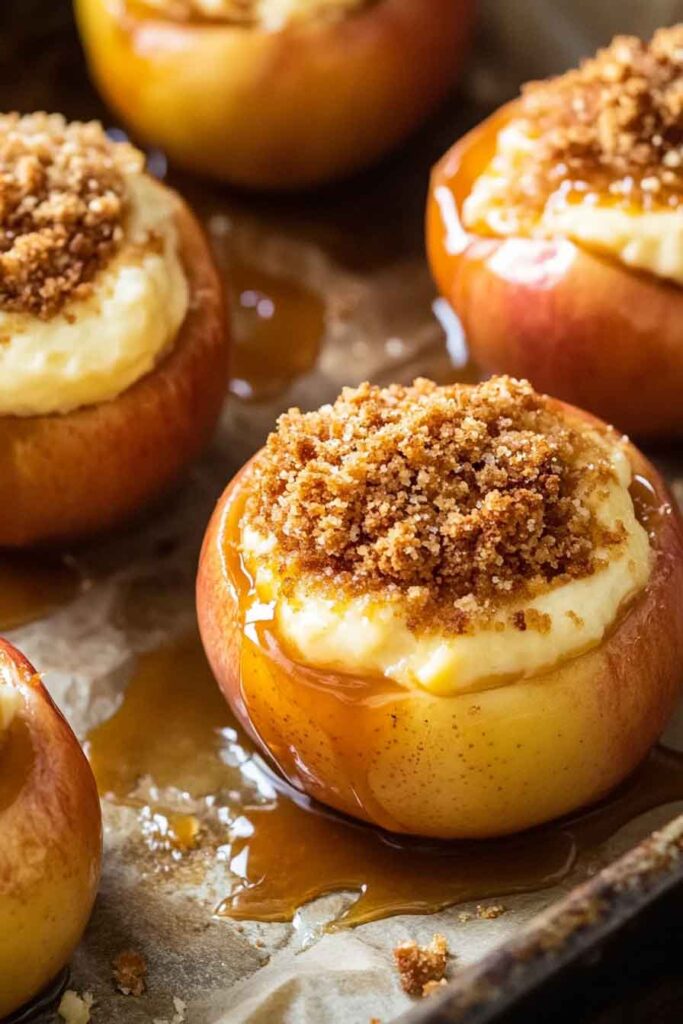
- Spoon the cheesecake filling into each hollowed apple, filling nearly to the top but not overflowing.
4. Prepare the Topping
- In a small bowl, stir together graham cracker crumbs, a little melted butter, cinnamon, and a pinch of nutmeg until crumbly.
- Sprinkle the mixture generously over the tops of the filled apples.
5. Bake
- Cover the baking dish loosely with foil and bake for 25 minutes.
- Remove the foil and bake for another 15–20 minutes, or until the apples are tender and the cheesecake centers are just set.
- Let the apples cool slightly before serving.
Serving and Decoration
How to Serve Cheesecake-Stuffed Baked Apples
These baked apples are cozy enough for casual dinners and impressive enough for special occasions.
Here are a few serving ideas:
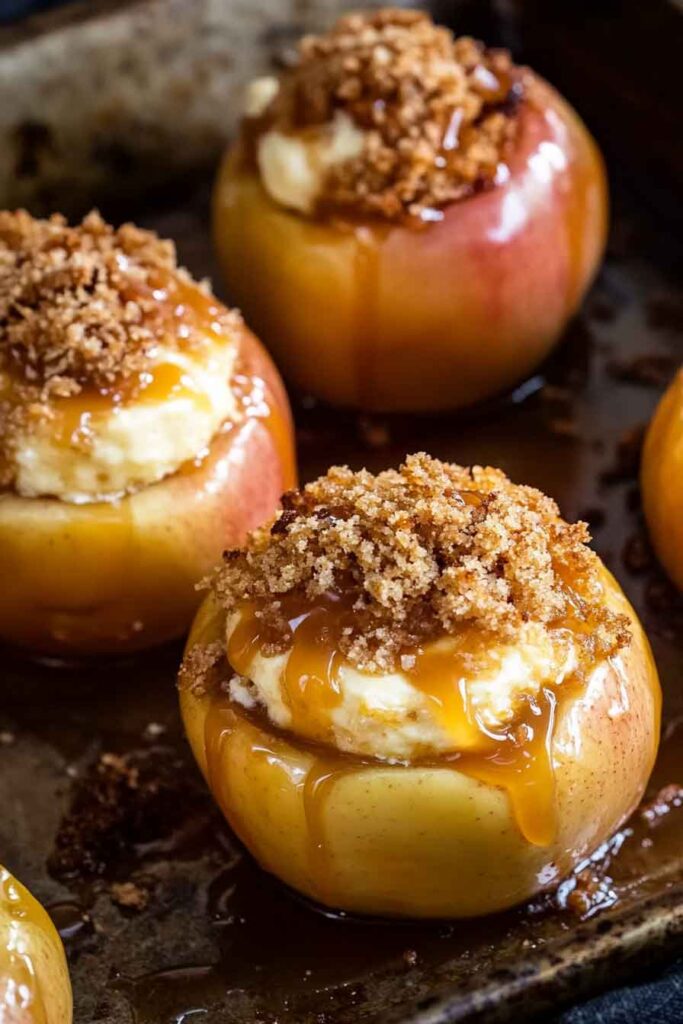
- Drizzle with Warm Caramel: Just before serving, pour a little caramel sauce over each apple for extra sweetness.
- Top with Whipped Cream: A dollop of lightly sweetened whipped cream adds a nice airy contrast to the creamy filling.
- Add a Scoop of Ice Cream: Vanilla ice cream pairs perfectly with the warm, spiced apple and rich cheesecake.
Storing Cheesecake-Stuffed Baked Apples
- Refrigeration: Store any leftovers in an airtight container in the refrigerator for up to 3 days.
- Reheating: Warm gently in the microwave for about 30 seconds to 1 minute, or place in a 300°F oven for 10–15 minutes until heated through.
Tips and Tricks for Success
- Choose the Right Apples: Firm apples like Honeycrisp or Granny Smith will hold up better during baking and won’t get mushy.
- Don’t Overfill: Leave a little space at the top to prevent cheesecake filling from spilling over as it bakes.
- Test for Doneness: A toothpick should slide into the apple flesh easily but still meet slight resistance; you want them tender, not collapsed.
- Let Them Cool Slightly: The filling sets up better and tastes even creamier once it has cooled for about 10–15 minutes after baking.
Nutrition Information
| Nutrient | Amount (Per Apple) |
|---|---|
| Calories | 320 |
| Total Fat | 18g |
| Saturated Fat | 10g |
| Cholesterol | 75mg |
| Sodium | 150mg |
| Carbohydrates | 36g |
| Fiber | 3g |
| Sugars | 28g |
| Protein | 5g |
Note: Nutrition values are estimates and can vary based on apple size and exact ingredients used.
Cheesecake Stuffed Baked Apples
Course: Uncategorized20
minutes40
minutes320
kcalIngredients
1 pound full-fat cream cheese, at room temperature
2 large eggs, at room temperature
8 large apples (Honeycrisp, Granny Smith, or Fuji)
4 tablespoons unsalted butter, melted
¾ teaspoon ground cinnamon
¼ teaspoon ground nutmeg
¾ cup graham cracker crumbs
¾ cup granulated sugar
1 teaspoon vanilla extract
Caramel sauce, for drizzling (optional)
Directions
- Preheat Oven: Preheat the oven to 350°F (177°C). Lightly grease a 9×13-inch baking dish.]
- Prepare Apples: Cut tops off apples and hollow them out, leaving sturdy walls.
- Make Cheesecake Filling: Beat cream cheese until smooth. Add sugar, eggs, and vanilla; beat again until creamy.
- Fill Apples: Spoon the cheesecake filling into each apple.
- Make Topping: Mix graham cracker crumbs with melted butter, cinnamon, and nutmeg. Sprinkle over filled apples.
- Bake: Cover with foil and bake for 25 minutes. Uncover and bake an additional 15–20 minutes until apples are tender and filling is set.
- Cool and Serve: Let cool for 10–15 minutes before serving. Drizzle with caramel sauce if desired.
Cheesecake Stuffed Baked Apples FAQs
Can I use a different fruit instead of apples?
You could try using hollowed-out pears for a different twist, but baking times may vary.
Can I make these ahead of time?
Yes! Prepare and fill the apples, cover, and refrigerate up to one day ahead. Bake when ready to serve.
What’s the best way to hollow the apples?
A melon baller makes it easy to scoop out the centers neatly without cutting through the sides.
Can I freeze stuffed apples?
It’s not recommended. The cheesecake filling and baked apples may become watery after freezing and thawing.
Conclusion
Cheesecake Stuffed Baked Apples are a beautiful mix of warm, spiced fruit and rich, creamy cheesecake tucked inside.
They’re easy enough for a cozy family night and impressive enough for a holiday dessert table.
One bite, and you’ll see why this simple dessert feels a little magical — no fancy tricks, just good ingredients coming together in the best way.