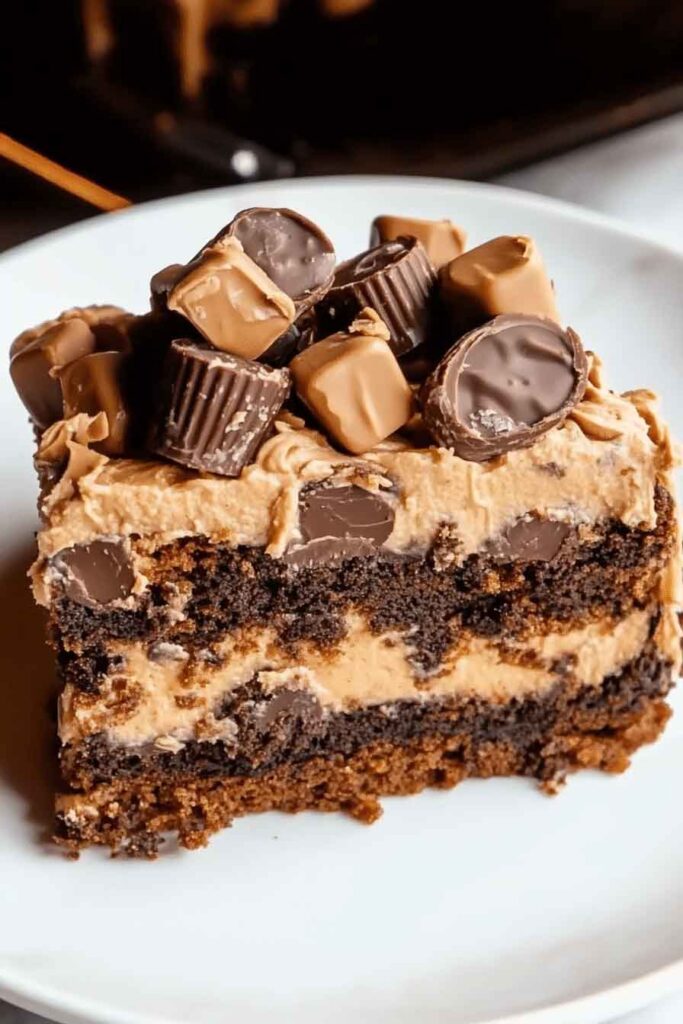
You have to try this Peanut Butter Cup Dump Cake! It’s rich, gooey, and packed with chocolatey peanut butter goodness. Trust me, it’s a dessert dream come true.
Layers of chocolate cake mix, peanut butter cups, and melted goodness all baked into one warm, melty treat. No mixing bowls, no fuss—just dump, bake, and drool. I love how easy and indulgent it is!
Perfect for potlucks, parties, or when that sweet tooth hits hard. Everyone will be begging for the recipe! Once you taste it, this will be your new go-to easy dessert.
Let’s bake it up! Grab your cake mix, peanut butter cups, and butter—I’ll show you how fast and fun it is. You’re gonna love every ooey-gooey bite!
Why You’ll Love This Recipe
- Effortless But Impressive: The name says it all—just “dump” the ingredients in layers. But once it’s baked, it tastes like you spent hours on it.
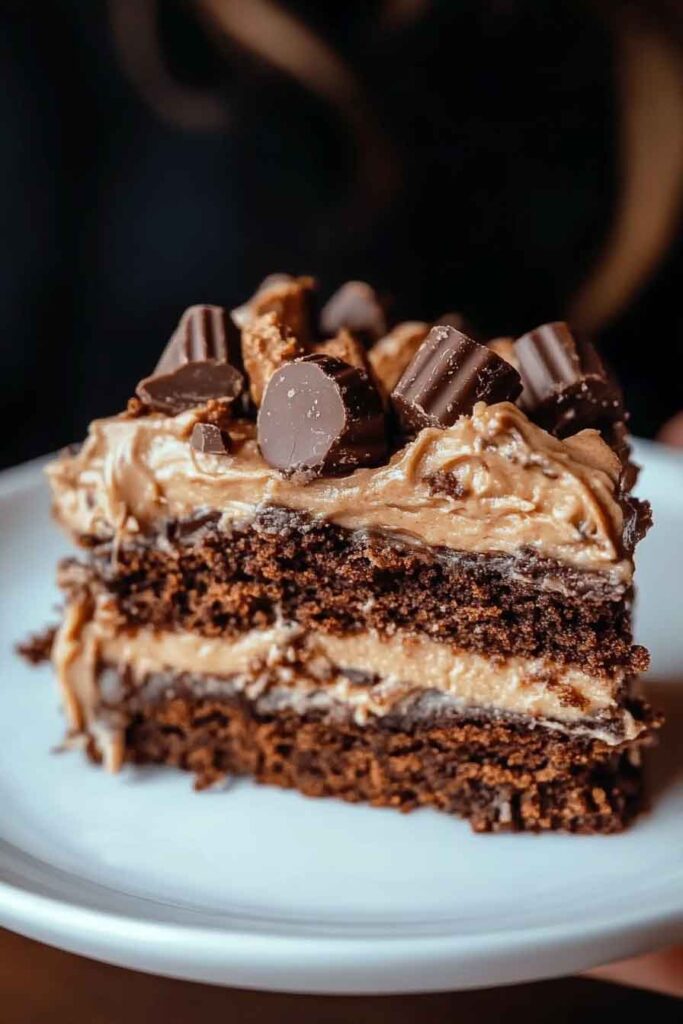
- Deep, Chocolatey Layers: The chocolate pudding and cake mix bake into a soft, almost brownie-like base. It’s rich without being too heavy.
- Classic Peanut Butter Flavor: Swirls of melted peanut butter add a salty-sweet kick. It balances the sugar and deepens the flavor.
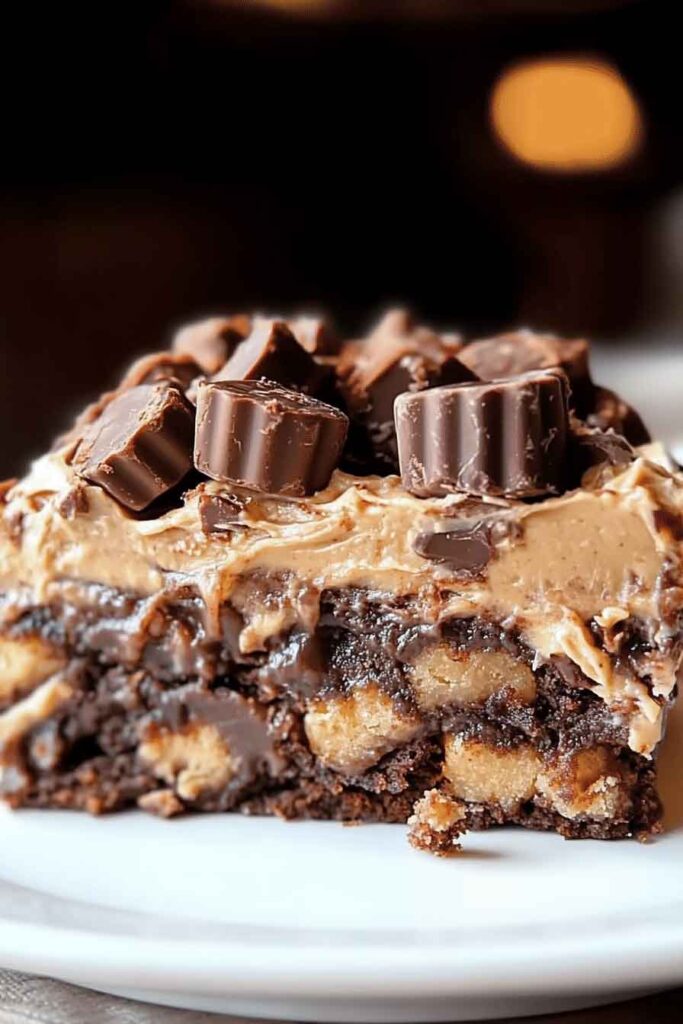
- Loaded with Treats: Mini peanut butter cups melt into little pockets of candy, and chopped peanuts give the top a nice crunch.
- Crowd-Friendly: It travels well and feeds a group—perfect for potlucks, parties, or late-night cravings.
What You Need to Know Before You Start
Prep Time & Cook Time:
- Prep Time: About 10 minutes. Most of it is just layering.
- Bake Time: 40 to 45 minutes in a 350°F oven.
- Total Time: Under 1 hour start to finish.
Servings:
- Makes 10 to 12 generous servings.
- You can stretch it further if serving with ice cream or other sides.
Skill Level:
- Beginner-Friendly. No whisking egg whites. No softening butter. No rolling or decorating. Just pour, spread, and bake.
Required Kitchen Tools
You won’t need much to pull this off. Here’s what you’ll want to have ready:
- 9×13-inch Baking Dish: Glass or metal both work. Just grease it well.
- Mixing Bowl: For blending the pudding layer.
- Microwave-Safe Bowl: For melting butter and peanut butter.
- Measuring Cups and Spoons
- Rubber Spatula or Spoon: For spreading layers evenly.
- Oven Mitts: The pan will be hot coming out of the oven.
Ingredients for Peanut Butter Cup Dump Cake
Let’s walk through the layers that make this cake what it is:
- Chocolate Cake Mix (1 box): Use your favorite brand. Devil’s food or dark chocolate gives the richest flavor. This forms the soft, cakey part of the base.
- Instant Chocolate Pudding Mix (1 box, 3.9 oz): Helps bind everything together. Adds moisture and extra chocolate depth.
- Milk (2 cups): Used to mix with the pudding mix. Whole milk gives the richest texture, but any dairy or non-dairy milk works.
- Melted Unsalted Butter (½ cup): Adds richness and helps the top layer set into a gooey, golden crust.
- Creamy Peanut Butter (1 cup): Melted and swirled in for bold peanut flavor. If your peanut butter is salted, skip extra salt later.
- Mini Peanut Butter Cups (1 cup, halved): These get scattered in between the layers and on top. They soften in the oven and melt slightly into the cake.
- Chocolate Chips (1 cup, optional): For extra chocolate pockets. You can use semi-sweet, milk, or dark depending on your taste.
- Chopped Roasted Peanuts (½ cup): Optional but adds great crunch on top. It contrasts the soft cake beautifully.
Variations for Peanut Butter Cup Dump Cake
- Make It Extra Fudgy: Add a drizzle of sweetened condensed milk before baking. It sinks in and makes the cake super gooey.
- Use Different Candy: Swap mini peanut butter cups with chopped Reese’s Pieces, Snickers, or even chopped up peanut butter-filled pretzels.
- Add a Swirl: Drop spoonfuls of peanut butter across the batter and swirl with a butter knife before baking. It creates a marbled look and deeper peanut flavor.
- Try a Brownie Base: Instead of cake mix, use brownie mix for a richer, chewier texture.
- Go Nut-Free: If you’re baking for allergies, skip the peanuts and use sunflower butter and allergy-safe chocolate.
- Serve Warm or Cold: Right out of the oven, it’s gooey and soft. Chill it for firmer bars. Both are delicious.
How to Make Peanut Butter Cup Dump Cake Step-by-Step
1. Preheat the Oven
Set your oven to 350°F (175°C). Grease your 9×13-inch baking dish with non-stick spray or butter.
2. Make the Pudding Layer
In a large bowl, whisk together the instant chocolate pudding mix and 2 cups of cold milk. Let it sit for 1–2 minutes until it begins to thicken. Set aside.
3. Layer the Ingredients
Now comes the fun part—building the cake:
- Bottom Layer: Pour the pudding mixture into the greased baking dish and spread it out evenly.
- Add Peanut Butter Cups: Sprinkle half the halved mini peanut butter cups over the pudding.
- Add Chocolate Chips: If using, sprinkle half of the chocolate chips now.
- Cake Mix Layer: Evenly sprinkle the dry chocolate cake mix directly over the pudding layer. Don’t stir. Just spread it out.
- Add Butter + Peanut Butter: Melt the unsalted butter and creamy peanut butter together in the microwave until smooth (about 30–45 seconds). Stir well. Drizzle it all over the dry cake mix. Try to cover as much of the surface as possible.
- Final Toppings: Add the remaining peanut butter cups, chocolate chips, and chopped peanuts across the top.
4. Bake the Cake
Place the pan in the center of your preheated oven. Bake for 40 to 45 minutes, or until the top is set and golden brown, and the edges are bubbling.
5. Let It Rest
Once out of the oven, let the cake cool for 15–20 minutes. This helps it firm up slightly and makes it easier to serve.
You can serve it warm (super gooey) or let it cool completely for a more bar-like texture.
How to Serve Peanut Butter Cup Dump Cake
This dessert is rich and sweet, so a little goes a long way. Here are a few serving ideas to round it out:
- Warm with Ice Cream: Scoop it into bowls while it’s still warm and top with vanilla ice cream. The contrast of hot and cold is perfect.
- Chilled and Sliced: Let it cool completely, then chill in the fridge for a few hours. You can slice it into bars—less gooey, more chewy.
- With Whipped Cream: A dollop of lightly sweetened whipped cream cuts through the richness.
- With a Drizzle: Melt extra peanut butter or chocolate sauce and drizzle over the top before serving.
- Party Style: Bring the whole pan to the table and let everyone dig in family-style.
Storing Peanut Butter Cup Dump Cake
- Room Temperature: Cover and store leftovers on the counter for up to 2 days.
- Refrigerator: Keeps well in the fridge for 4–5 days. The texture firms up a bit, but it still tastes great.
- Freezer: You can freeze individual portions wrapped in plastic and stored in an airtight container for up to 2 months. Thaw in the fridge overnight or microwave for 20–30 seconds.
Tips and Tricks for Success
- Use a Good Cake Mix: A rich chocolate cake mix gives the best flavor. Avoid low-fat or sugar-free versions for this recipe.
- Don’t Stir the Layers: Dump cakes work because the layers stay separate. Resist the urge to mix!
- Watch the Edges: The sides of the pan will bubble and brown before the center is done—this is normal. Check for doneness by gently pressing the top; it should feel firm, not squishy.
- Let it Rest: Give it at least 15 minutes out of the oven before serving. It helps the layers settle.
Nutrition (Per Serving – Approximate)
| Nutrient | Amount |
|---|---|
| Calories | 420 |
| Total Fat | 25g |
| Saturated Fat | 9g |
| Carbohydrates | 45g |
| Sugar | 30g |
| Protein | 6g |
| Sodium | 320mg |
| Fiber | 2g |
Note: Nutrition values are estimates and will vary depending on brands used.
Peanut Butter Cup Dump Cake
Course: Breakfasts10
servings10
minutes45
minutes420
kcalIngredients
1 box chocolate cake mix (about 15.25 oz)
1 box instant chocolate pudding mix (3.9 oz)
2 cups milk (preferably whole)
½ cup unsalted butter, melted
1 cup creamy peanut butter, melted
1 cup mini peanut butter cups, halved
1 cup chocolate chips (optional)
½ cup chopped roasted peanuts (optional)
Directions
- Preheat oven to 350°F (175°C). Grease a 9×13-inch baking dish.
- Mix pudding: In a bowl, whisk together chocolate pudding mix and milk. Let sit for 1–2 minutes until slightly thickened.
- Layer the ingredients:
Pour pudding into the baking dish and spread evenly.
Sprinkle half of the peanut butter cups and chocolate chips over the pudding.
Evenly sprinkle the dry chocolate cake mix over everything. Do not stir. - Melt and drizzle: In a microwave-safe bowl, melt the butter and peanut butter together until smooth. Drizzle over the top of the cake mix.
- Top and bake: Add the rest of the peanut butter cups, chocolate chips, and chopped peanuts. Bake for 40–45 minutes until bubbly and golden on top.
- Cool and serve: Let rest 15–20 minutes before serving warm, or cool fully to slice into bars.
Peanut Butter Cup Dump Cake FAQs
Can I use crunchy peanut butter?
Yes! It adds extra texture. Just melt it as you would with creamy.
Do I have to use instant pudding?
Yes—regular cook-and-serve pudding won’t set properly for this recipe.
Can I make this in advance?
Absolutely. Bake it the day before, then reheat portions or serve chilled.
Can I skip the peanuts on top?
Totally optional. Omit them for a nut-free version or swap in crushed pretzels for crunch.
What’s the best way to reheat it?
Microwave a serving for 20–30 seconds to bring back the gooey texture.
Conclusion
Peanut Butter Cup Dump Cake is one of those easy recipes that always surprises people. It’s messy in the best way, rich without being over-the-top, and perfect when you want something that feels homemade but takes barely any effort.
Whether you’re baking for a weekend treat, potluck, or just to satisfy a chocolate-peanut butter craving, this is one to keep in your back pocket.