
Okay, so these Kool Aid gummy treats? They’re fun, fruity, and so easy to make at home. Just a few ingredients and boom—you’ve got chewy, colorful snacks.
I started making them when I wanted something quick and sweet for the kids. Mixed some gelatin with Kool Aid, poured it into molds, and let it set. They came out bright, tangy, and totally addicting.
No candy thermometer, no fancy tools. Just a bowl, a spoon, and a little fridge time. And the best part? You can pick your favorite flavors.
If you want a fun DIY treat, this one’s a keeper. Let’s make some gummies—you’re gonna love how easy it is.
Why You’ll Love This Recipe
- Simple Ingredients: You likely already have everything in your pantry—no exotic items needed.
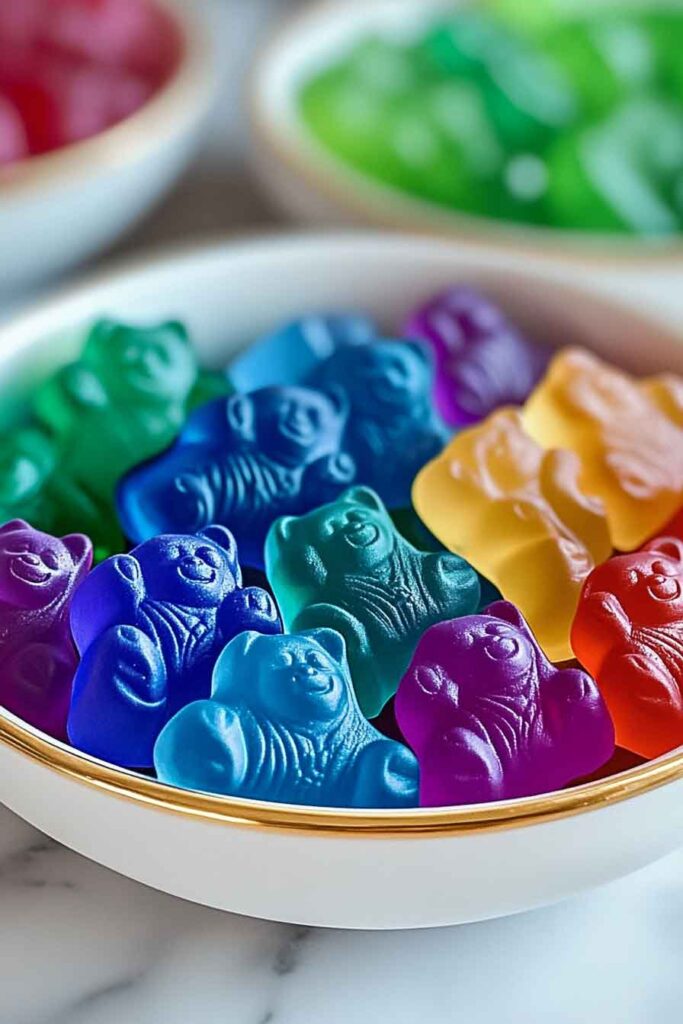
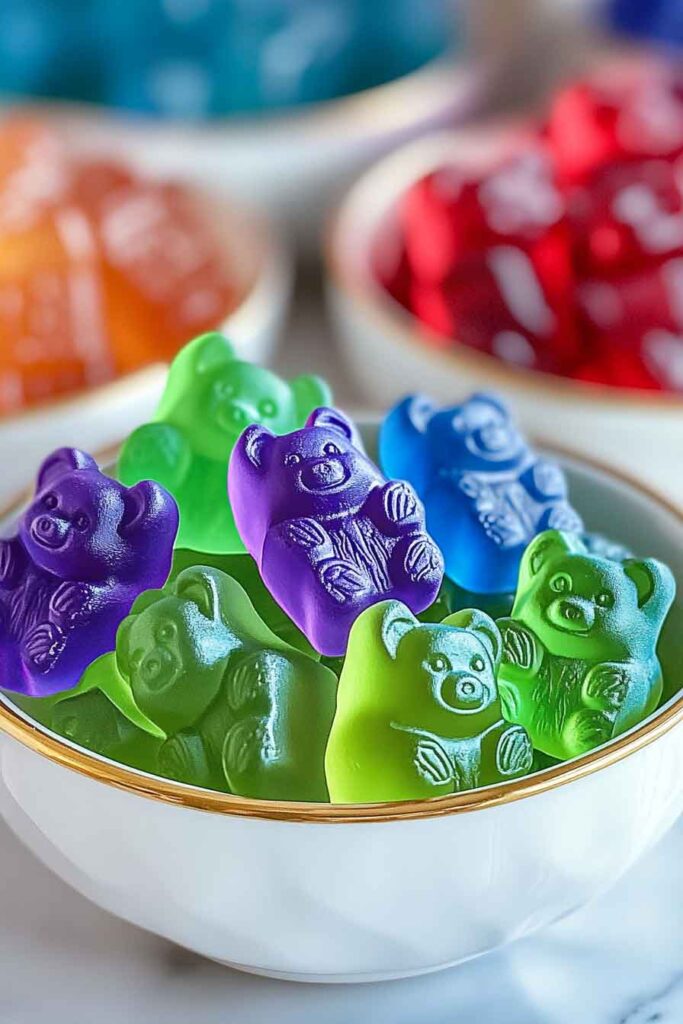
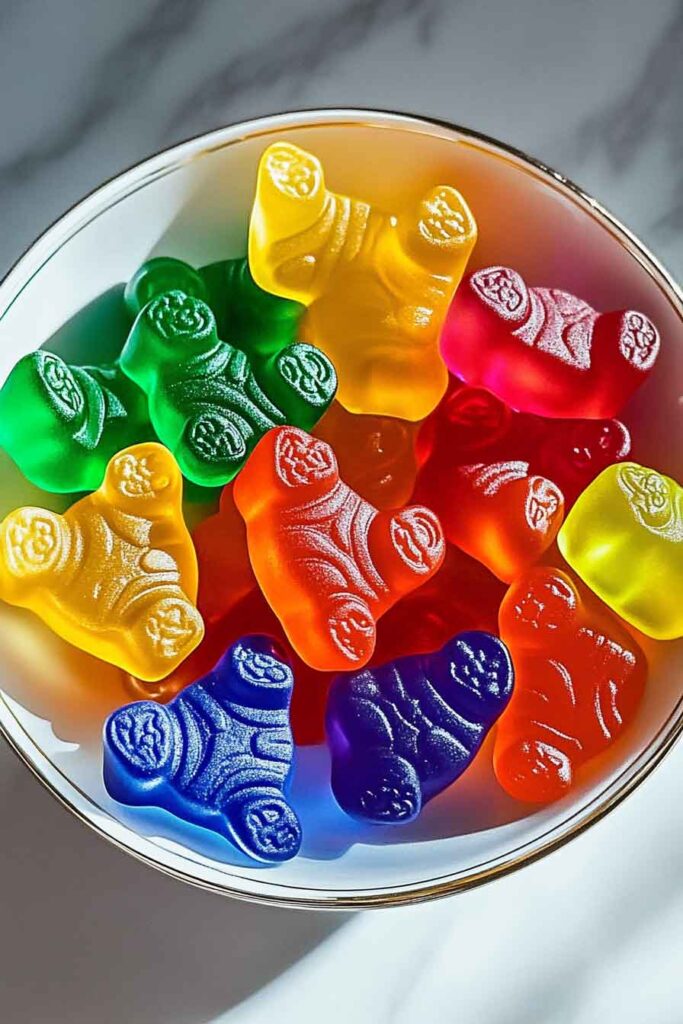
- Flexible Flavors: Use grape, cherry, blue raspberry, watermelon, or any Kool-Aid flavor you prefer. Each flavor gives a bold, recognizable taste and vibrant color.
- Fun for All Ages: Adults love them too, but they’re especially fun for children to help make and eat.
- No-Bake & No Oven Needed: The recipe comes together with gentle heating on the stovetop, making it beginner-safe and quick.
- Affordable and Customizable: Store-bought gummies can be pricey. These are budget-friendly, and you can make different batches for just pennies per serving.
What You Need to Know Before You Start
Prep Time & Chill Time
- Prep Time: 10 minutes – This includes gathering ingredients, heating the liquid, and filling the molds.
- Chill Time: 1 hour – This is the time the mixture needs in the fridge to fully set and hold its shape.
- Total Time: Approximately 1 hour and 10 minutes from start to finish.
Serving Size:
Yields approximately 100 small gummies (based on 1-teaspoon sized molds), or fewer if using larger molds.
Texture & Taste:
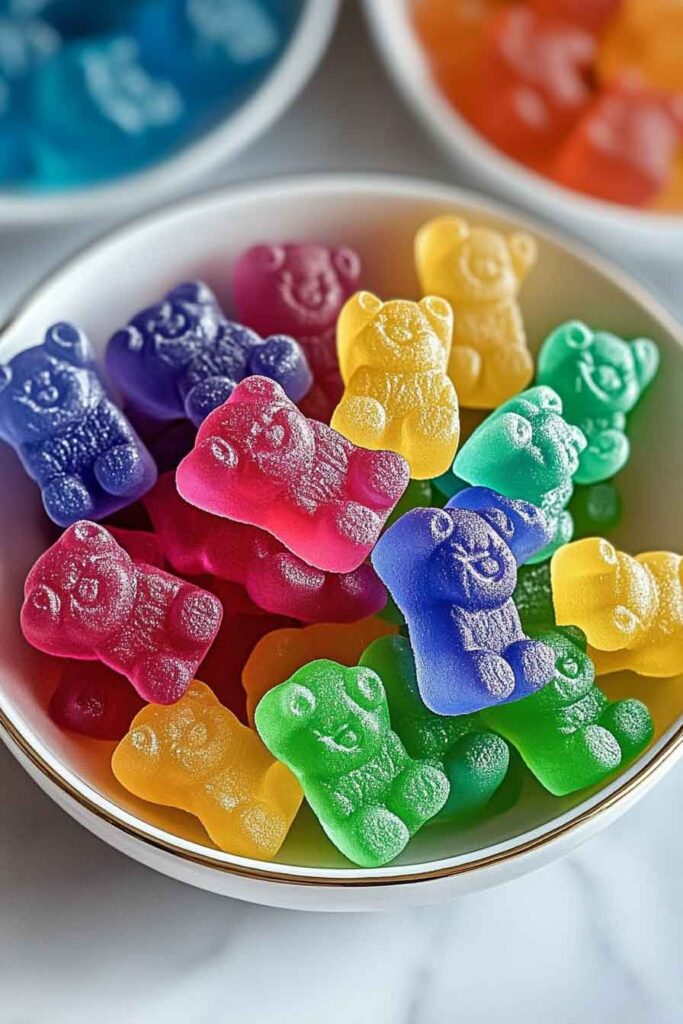
Expect a firm chew, similar to gummy bears, but slightly softer since these are homemade. The flavor is fruity, sweet, and intense—especially with tart Kool-Aid like cherry or lemon-lime.
Storage:
They last up to 1 week refrigerated in an airtight container. They are best eaten cold, as they can soften at room temperature depending on your climate.
Difficulty Level:
Very Easy. Ideal for beginners, young cooks, and family kitchen projects. Just be cautious when handling hot liquid.
Required Kitchen Tools
To make Kool Aid Gummies successfully, here’s what you’ll need:
- Small Saucepan: To heat and dissolve gelatin, sugar, and Kool-Aid in water.
- Mixing Bowl: If you want to mix dry ingredients before heating, though it’s optional.
- Measuring Spoons and Cups: For accurate proportions, especially the gelatin.
- Silicone Gummy Molds: These give you fun shapes like bears, worms, stars, or hearts. Ice cube trays also work if you don’t have molds.
- Dropper or Small Spoon: To transfer liquid into the molds without making a mess.
- Rubber Spatula: Helpful for stirring and scraping down the sides of your pan.
Optional:
- Citric Acid (for sour gummies)
- Food-Safe Gloves or Tray Liner: To keep things sanitary if involving children.
Ingredients for Kool Aid Gummy Treats
These gummies require just four main ingredients, with an optional fifth for extra tang. Here’s what each one does:
- 1 cup Water: The base that hydrates the gelatin and dissolves the Kool-Aid and sugar. Cold or room temperature water is fine to start.
- ½ cup Granulated Sugar: Adds sweetness to balance the tart Kool-Aid. You can adjust this up or down depending on your taste.
- 2 packets Kool-Aid Powder: One or two single-serve packets depending on how strong you want the flavor. Use any flavor—blue raspberry, grape, cherry, lemonade, etc.
- 4 tablespoons Unflavored Gelatin: This is what gives the gummies their structure. Make sure it’s unflavored. Knox is a common brand, but store brands work too.
- Optional: 1 teaspoon Citric Acid: This gives the gummies a sour candy feel—similar to Sour Patch Kids. Add more or less to taste.
Note: Do not substitute flavored Jell-O for gelatin; it already contains sugar, flavoring, and thickeners, which will throw off the balance.
Variations for Kool Aid Gummies
Here are some creative ways to customize your batch:
- Double Layer Gummies: Let one flavor set halfway in the mold, then gently pour a second layer with a different flavor.
- Tart-Sweet Combo: Add citric acid to just half the batch and mix flavors—like half lemon, half cherry.
- Shiny Finish: Lightly coat the finished gummies with a small amount of vegetable oil for a glossier look, similar to store-bought.
- Natural Sweetener: Use honey or agave syrup instead of sugar, though results may differ slightly in texture.
- Agar Agar Option: For vegetarians, swap gelatin for agar agar powder. However, the texture will be firmer and less stretchy.
How to Make Kool Aid Gummy Treats: Step-by-Step Instructions
1. Measure and Mix the Dry Ingredients
Start by measuring 4 tablespoons of unflavored gelatin and ½ cup of granulated sugar. Pour them into a small mixing bowl and stir briefly to combine. This step helps the dry ingredients disperse evenly when added to the water.
If using citric acid for sour gummies, add it now. Mix thoroughly.
2. Combine Water and Kool-Aid
In a small saucepan, add 1 cup of water and 2 packets of Kool-Aid. Whisk until the Kool-Aid powder dissolves completely. This gives the water a bold color and strong fruity flavor.
Do this off the heat to avoid premature activation of the gelatin.
3. Add Gelatin-Sugar Mixture to the Kool-Aid
Slowly whisk the sugar-gelatin blend into the Kool-Aid liquid in the saucepan. Stir constantly while adding to prevent clumping.
Let the mixture sit for 5 minutes. This allows the gelatin to “bloom,” or absorb the water and swell. It ensures the gummies set up properly later.
4. Heat the Mixture Gently
Place the saucepan over low heat. Stir gently and continuously with a spatula or whisk until the mixture is completely smooth and the gelatin dissolves—about 5 to 7 minutes.
Important: Do not let the mixture boil. Boiling breaks down gelatin and will prevent the gummies from setting. You should see light steam, but no bubbling.
Once it looks like a glossy, liquid syrup with no grains or clumps, it’s ready.
5. Fill the Molds
Remove the pan from the heat. If you see bubbles, you can skim them off with a spoon for clearer gummies.
Use a dropper or spoon to carefully pour the liquid into silicone molds. Work quickly, as the mixture thickens as it cools.
Tap the filled molds gently on the counter to release any air bubbles.
6. Chill Until Set
Place the filled molds into the refrigerator (not freezer) and let them chill for at least 1 hour.
After 1 hour, check if the gummies are firm to the touch. They should bounce back when pressed and come out of the molds easily.
Serving and Decoration
These gummy treats are bright, playful, and flavorful as-is, but here are some fun ways to serve them:
- Party Tray: Arrange different colored gummies in rows or color-blocked sections on a candy tray.
- Lunchbox Snack: Add a few to a bento box or snack container for a fun surprise.
- DIY Candy Bags: Place assorted flavors into small bags tied with ribbon for party favors or edible gifts.
- Sweet Garnish: Use them to top cupcakes, cakes, or frozen yogurt.
If you’re serving them to guests or children, keep them cool to prevent stickiness.
How to Store Kool Aid Gummy Treats
Proper storage keeps your gummies fresh and chewy.
- Refrigerator: Store in an airtight container in the fridge for up to 1 week. Line with parchment paper if stacking layers.
- Room Temperature: Not recommended for long periods—these gummies will soften or melt depending on humidity.
- Avoid Moisture: Keep dry. Do not freeze; freezing changes the texture and makes gummies brittle.
Optional: If the gummies feel sticky after refrigeration, dust lightly with cornstarch or citric acid and shake off excess before serving.
Tips and Tricks for Success
- Use Silicone Molds: They make it easy to remove the gummies cleanly without tearing.
- Whisk Slowly: Fast stirring can create foam or bubbles in the liquid. Gentle mixing creates clearer gummies.
- Measure Accurately: Too much gelatin will result in hard, rubbery texture. Too little, and they won’t set properly.
- Avoid Overheating: Never let the mixture boil. Warm just enough to dissolve everything completely.
- Work Quickly: Once removed from heat, the liquid begins to thicken. Have your molds ready ahead of time.
- Taste Before Chilling: If you want more tartness, add a little extra citric acid before pouring into molds.

Nutrition Information
| Nutrient | Per 10 Gummies (Estimate) |
|---|---|
| Calories | 45 |
| Carbohydrates | 10g |
| Sugars | 9g |
| Protein | 1.5g |
| Fat | 0g |
| Fiber | 0g |
| Sodium | 5mg |
Note: Nutrition values are approximate and depend on exact ingredients and mold size.
Kool Aid Gummy Treats (No-Bake, Kid-Friendly)
Course: Dessert Recipes100
small gummies (depending on mold size)10
minutes45
kcal1
hourIngredients
1 cup water
½ cup granulated sugar
2 packets Kool-Aid (any flavor)
4 tablespoons unflavored gelatin
1 teaspoon citric acid (optional, for sour flavor)
Directions
- Mix Dry Ingredients: In a small bowl, combine gelatin, sugar, and citric acid (if using). Stir to blend.
- Combine Kool-Aid and Water: In a small saucepan, mix Kool-Aid and water until dissolved.
- Add Dry Mix: Slowly whisk the dry mixture into the Kool-Aid liquid. Let sit for 5 minutes to allow gelatin to bloom.
- Heat Gently: Place saucepan over low heat. Stir constantly until mixture is fully dissolved and smooth (5–7 minutes). Do not boil.
- Fill Molds: Remove from heat and use a dropper or spoon to fill silicone molds. Tap molds to remove air bubbles.
- Chill: Refrigerate for at least 1 hour until firm.
- Unmold & Store: Pop gummies out and store in an airtight container in the fridge for up to 1 week.
Kool Aid Gummy Treats FAQs
Can I make these gummies vegan?
You can try using agar agar powder instead of gelatin, but the texture will be firmer and slightly less chewy.
How can I make them more sour?
Add up to 2 teaspoons of citric acid to the recipe or lightly coat the finished gummies with it.
Can I use Jell-O instead of Kool-Aid?
Jell-O contains sugar and gelatin, so it doesn’t work the same way. Stick with unsweetened Kool-Aid and unflavored gelatin for best results.
How long do these last?
These gummies stay good in the fridge for up to 7 days. Store in an airtight container to keep them from drying out or absorbing fridge odors.
Do they need to be refrigerated?
Yes. Since they’re homemade and don’t contain preservatives, refrigeration is best to maintain texture and flavor.
Conclusion
Homemade Kool Aid Gummy Treats are colorful, chewy, and bursting with bold fruity flavor. They’re made with just a handful of ingredients and can be tailored to your taste with different flavors and levels of tartness. Whether you’re making them for fun, for a party, or as a family project, these gummies are easy, inexpensive, and rewarding.
Once you try your first batch, it’s easy to experiment with new combinations—turning a simple recipe into a creative candy experience at home.