
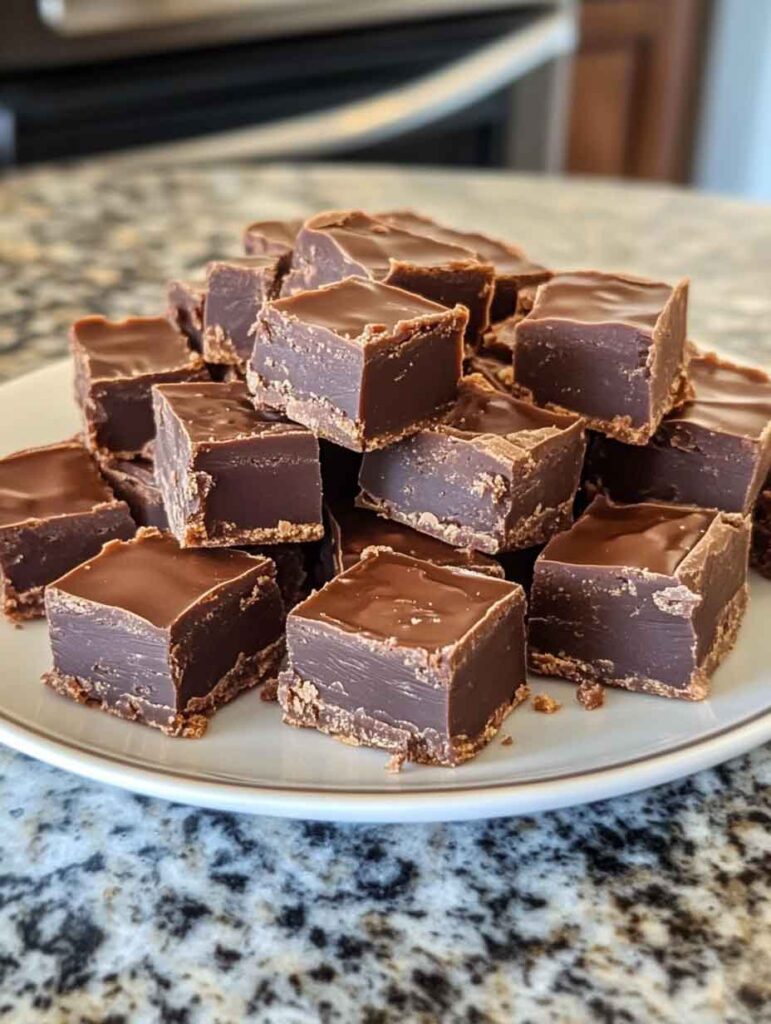
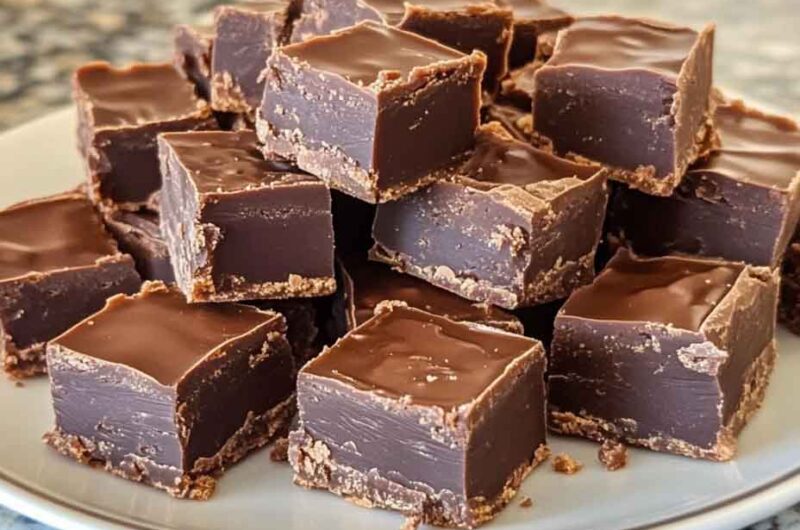
Oh boy, have you ever had that melt-in-your-mouth, rich, chocolatey fudge—the kind grandma used to make? I’m talking about that old-fashioned chocolate fudge, the real deal. One bite, and it’s like a warm hug from the past!
I tried making it once, and wow… let’s just say I learned a few things the hard way. But when I finally got it right? Oh, it was pure chocolate heaven!
You know that soft, smooth, chocolate square that makes you close your eyes and say “Mmm”? That’s what I’m gonna help you make. And trust me, it’s easier than you think—no candy thermometer stress here!
Ready to whip up some old-school, no-fail chocolate fudge? Grab your apron, and let’s get stirring. You’ll thank me later (and maybe lick the spoon, too).
Why You’ll Love This Recipe
- Simple Ingredients: Everything you need is likely already in your kitchen.
- Creamy and Smooth: The texture is perfectly soft with just the right amount of bite.
- No Fancy Tools: No need for special equipment—just a pot, spoon, and a little patience.
- Great for Gifting: Homemade fudge makes a thoughtful, delicious present.
- Keeps Well: Stays fresh for days, making it ideal for making ahead.
What You Need to Know Before You Start
Prep Time & Cook Time:
Prep Time: 10 minutes
Cook Time: 15 minutes
Cooling Time: 2 hours
Total Time: About 2 hours 30 minutes
Servings:
This recipe makes about 25 small squares, depending on how you cut them. Need more? Simply double the ingredients and use a larger pan.
Difficulty:
Easy for beginners but rewarding for seasoned cooks.
Required Kitchen Tools
- Medium-sized heavy-bottom saucepan
- Wooden spoon or heat-resistant spatula
- Measuring cups and spoons
- 8×8-inch baking pan (or similar)
- Parchment paper or lightly greased foil
- Knife for cutting
Key Ingredients for Old-Fashioned Chocolate Fudge
Each ingredient plays a vital role in giving this fudge its rich flavor and smooth texture.
- Granulated Sugar: The base of the sweetness and structure.
- Cocoa Powder: Use unsweetened cocoa for that deep, chocolatey flavor. Dutch-processed works well for a richer taste.
- Salt: Balances the sweetness and enhances the cocoa.
- Whole Milk: Adds creaminess and helps dissolve the sugar.
- Butter: Provides richness and gives the fudge its silky texture.
- Vanilla Extract: Brings warmth and rounds out the chocolate flavor.
How to Make Old-Fashioned Chocolate Fudge – Step-by-Step Instructions
Making fudge is all about patience and timing. Follow these steps closely, and you’ll end up with a smooth, melt-in-your-mouth treat.
1. Prepare Your Pan
Before you start cooking, get your pan ready:
- Line an 8×8-inch baking pan with parchment paper or lightly grease it with butter.
- Make sure the parchment hangs over the edges—this will help you lift the fudge out later.
Tip: If you skip this step, your fudge might stick, making it hard to remove later.
2. Combine the Dry Ingredients
In a medium heavy-bottom saucepan, add:
- 2 cups granulated sugar
- ½ cup unsweetened cocoa powder
- ¼ teaspoon salt
Use a whisk or spoon to stir everything together until the cocoa and sugar are well blended. This prevents lumps later.
3. Add the Wet Ingredients
Pour in:
- 1 cup whole milk
Give it a gentle stir until the dry ingredients are moistened. You don’t need to fully dissolve the sugar yet—that will happen when you heat it.
4. Heat the Mixture
Place the saucepan over medium heat. Stir slowly but constantly to prevent the sugar from sticking to the bottom and burning.
- Keep stirring until the sugar dissolves completely, and the mixture starts to bubble.
- Once it begins to boil, stop stirring. This is crucial—stirring after it starts boiling can lead to grainy fudge.
Let the mixture boil gently without stirring until it reaches 235°F (soft ball stage).
If you don’t have a thermometer, here’s a simple test:
- Drop a small spoonful of the hot mixture into a bowl of cold water.
- If it forms a soft ball that you can squish between your fingers, it’s ready.
Tip: If you’re unsure, it’s better to slightly undercook than overcook. Overcooking leads to dry, crumbly fudge.
5. Add Butter and Vanilla
Once the mixture reaches soft ball stage (235°F), remove it from heat.
- Add 4 tablespoons butter (cut into small pieces) and 1 teaspoon vanilla extract.
- Do not stir yet. Let it sit for about 5 minutes to cool slightly.
Why wait? Stirring while it’s too hot can cause the sugar to crystallize, making the fudge grainy.
6. Beat the Fudge
After resting, stir the mixture vigorously with a wooden spoon until it thickens and loses its glossy shine—about 5 to 8 minutes.
- The color will slightly lighten, and the mixture will start to hold its shape.
- This beating step gives the fudge its creamy texture, so don’t rush it.
Tip: If the mixture gets too stiff while beating, you may have overcooked it. You can still press it into the pan, but it may be crumbly rather than smooth.
7. Pour and Set
Quickly pour the fudge into your prepared pan. Smooth the top with the back of a spoon or spatula.
- Let it cool at room temperature for 1 to 2 hours until firm.
- Avoid the fridge—cooling too fast can cause sugar crystals, making the fudge grainy.
8. Cut into Squares
Once set, lift the fudge out using the parchment paper. Place it on a cutting board.
- Use a sharp knife to cut into 1-inch squares (or whatever size you prefer).
- Wipe the knife clean between cuts for neat squares.
Serving and Presentation Ideas
Old-Fashioned Chocolate Fudge is a timeless treat, but how you serve it can make it even more special. Here are a few ideas:
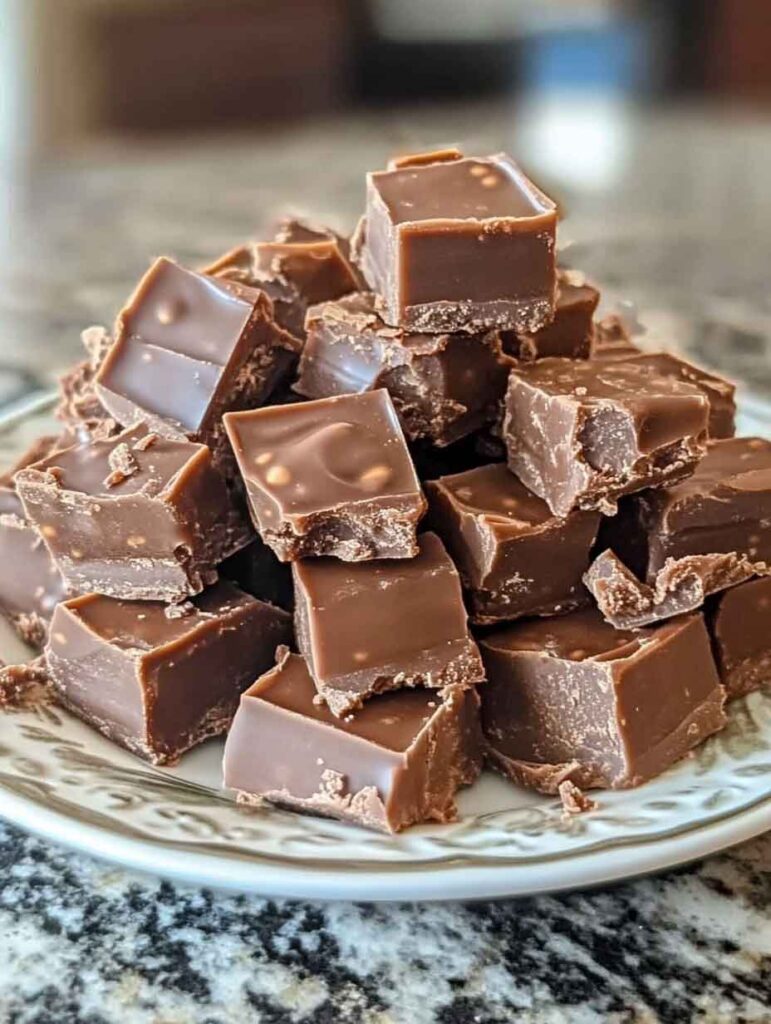
- Simple Squares: Serve as classic 1-inch squares on a dessert platter.
- Fudge Bites: Cut into smaller cubes and serve in mini cupcake liners for bite-sized treats.
- Drizzled Delight: Melt a little white chocolate and drizzle over the fudge for a decorative touch.
- Nutty Twist: Sprinkle chopped pecans, walnuts, or almonds on top before the fudge sets.
- Gift Wrap: Pack fudge pieces into small boxes or treat bags, tied with ribbon—a perfect homemade gift.
Storing Old-Fashioned Chocolate Fudge
Fudge keeps well, but proper storage is key to maintaining its texture and flavor.
- Room Temperature: Store in an airtight container for up to 2 weeks. Keep it in a cool, dry place away from direct sunlight.
- Refrigeration: If you prefer firmer fudge, refrigerate it. Wrap it tightly to prevent it from absorbing other food odors. It lasts up to 3 weeks in the fridge.
- Freezing: Wrap individual pieces in wax paper, then place them in a freezer-safe bag. Freeze for up to 3 months. Thaw at room temperature before serving.
Tip: Layer pieces with parchment paper to prevent sticking.
Variations and Add-Ins
Once you’ve mastered this classic fudge, you can get creative with these variations:
1. Nutty Chocolate Fudge
- Stir in 1 cup chopped walnuts or pecans after adding the butter and vanilla.
- Fold the nuts in gently before pouring into the pan.
2. Chocolate-Marshmallow Swirl
- After pouring the fudge into the pan, drop mini marshmallows or spoonfuls of marshmallow fluff on top.
- Swirl with a toothpick for a marbled effect.
3. Salted Chocolate Fudge
- Sprinkle flaky sea salt over the fudge before it sets for a sweet-salty contrast.
4. Peanut Butter Swirl
- Warm 2 tablespoons peanut butter and drizzle it over the poured fudge.
- Swirl with a knife for a peanut-chocolate combo.
5. Espresso Chocolate Fudge
- Stir in 1 tablespoon instant espresso powder with the sugar and cocoa for a mocha flavor.
Tips and Tricks for Success
Making fudge can be easy, but a few key tips will guarantee success:
- Use a Heavy-Bottom Pan: Helps prevent burning and ensures even heating.
- Don’t Stir After Boiling: Stirring during boiling can cause sugar crystals, leading to grainy fudge.
- Test Soft Ball Stage: If you don’t have a thermometer, drop a little fudge in cold water—it should form a soft ball that holds its shape but flattens when pressed.
- Rest Before Beating: Let the mixture sit for 5 minutes before stirring in butter and vanilla. This prevents sugar crystals.
- Humidity Matters: Fudge sets best in dry weather. Avoid making it on a humid day.
Nutrition Information (Approximate per 1-inch square)
| Nutrient | Amount |
|---|---|
| Calories | 90 |
| Total Fat | 4g |
| Saturated Fat | 2.5g |
| Carbohydrates | 14g |
| Sugar | 13g |
| Protein | 0.5g |
| Sodium | 20mg |

Old-Fashioned Chocolate Fudge
Course: Uncategorized25 squares
servings10
minutes15
minutes90
kcalIngredients
2 cups (400g) granulated sugar
½ cup (50g) unsweetened cocoa powder (Dutch-processed or regular)
¼ teaspoon salt
1 cup (240ml) whole milk
4 tablespoons (56g) butter (salted or unsalted)
1 teaspoon vanilla extract
Directions
- Prepare the Pan: Line an 8×8-inch baking pan with parchment paper or grease lightly.
- Mix Dry Ingredients: In a saucepan, whisk together sugar, cocoa, and salt.
- Add Milk: Stir in milk until combined.
- Cook the Mixture: Heat over medium, stirring until sugar dissolves. Once it boils, stop stirring. Cook until it reaches 235°F (soft ball stage), about 10-12 minutes.
- Add Butter and Vanilla: Remove from heat. Add butter and vanilla but do not stir. Let rest for 5 minutes.
- Beat the Fudge: Stir vigorously until thickened and glossy turns matte—about 5-8 minutes.
- Pour and Set: Pour into the prepared pan. Smooth the top and let cool at room temperature for 1-2 hours.
- Cut and Serve: Lift from the pan and cut into squares.
Old-Fashioned Chocolate Fudge FAQs
1. Why is my fudge grainy?
Graininess often happens if the sugar crystals form too early. Avoid stirring once it starts boiling, and beat the mixture properly after cooling slightly.
2. Can I use low-fat milk?
Whole milk is best for a creamy texture, but you can substitute 2% milk. Avoid skim milk—it won’t give the same richness.
3. Do I need a candy thermometer?
No, but it helps. You can also use the cold water test: Drop a bit into cold water. If it forms a soft ball, it’s ready.
4. Can I double the recipe?
Yes, but use a larger pan (like 9×13) and a bigger saucepan to prevent overflow.
5. What if my fudge is too soft?
It may not have cooked long enough. You can refrigerate it to firm it up, but next time, cook it a bit longer.
Conclusion
Making Old-Fashioned Chocolate Fudge is a rewarding process. With a little patience and attention to detail, you’ll end up with rich, creamy squares of chocolate goodness. Perfect for special occasions or whenever you need a sweet treat. Give it a try, and soon, this classic recipe will become a family favorite.
Let me know if you’d like any changes or if this completes your recipe!